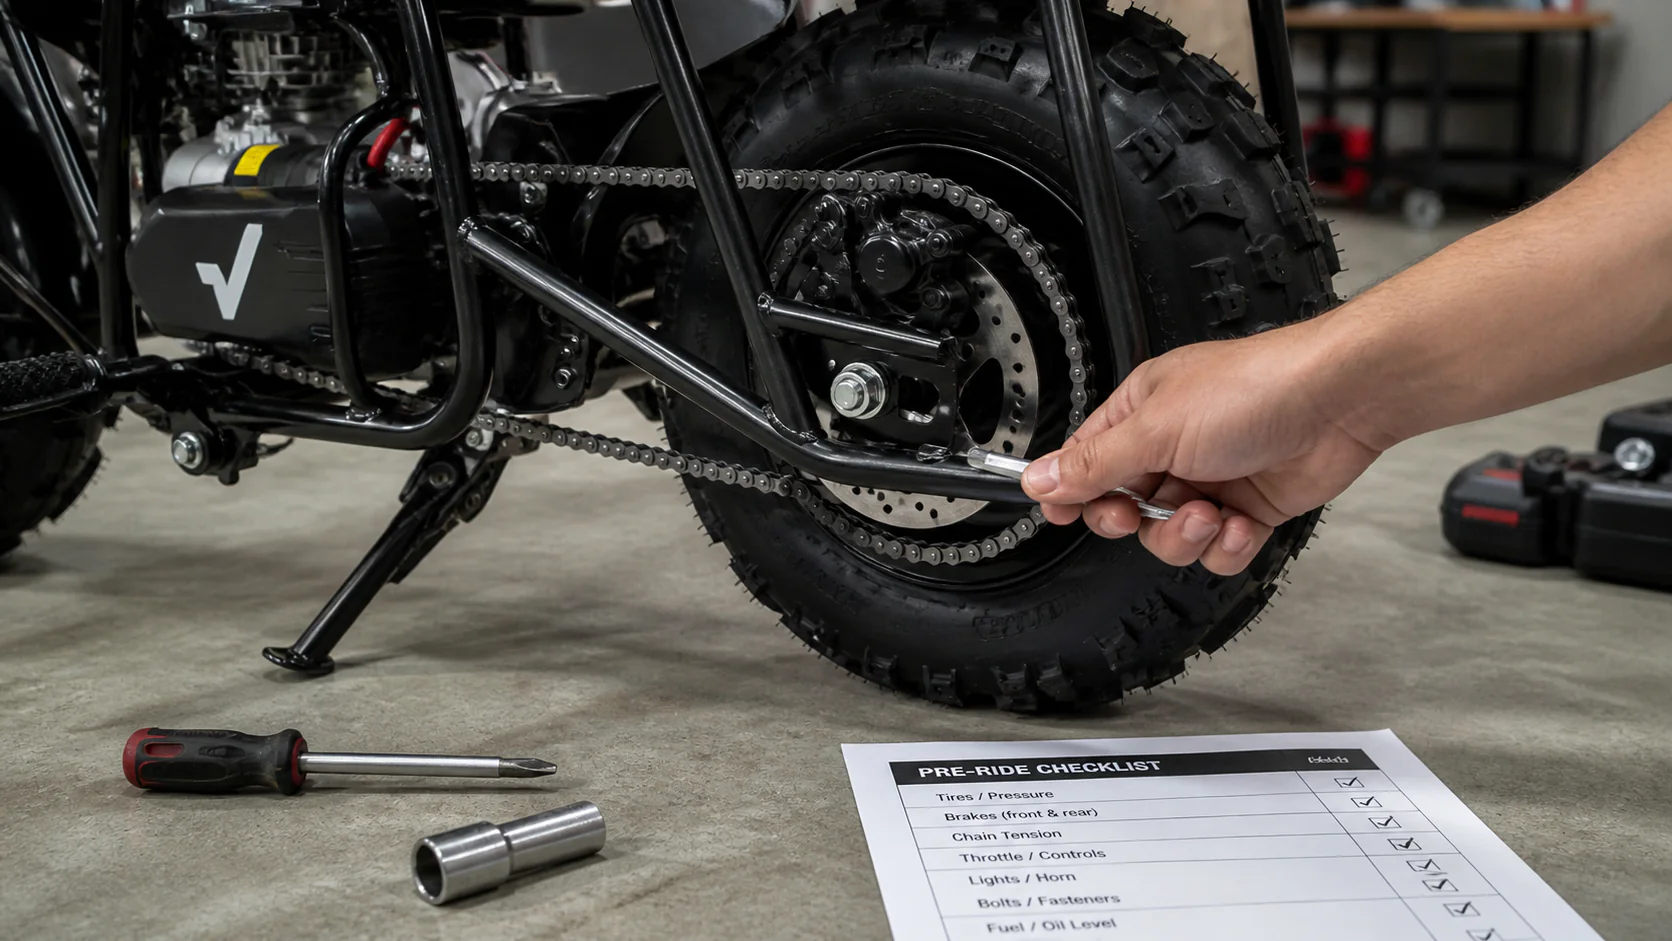
Most people spend more time deciding what phone to buy than what checks to run during a bike test ride. This bike test ride checklist fixes that — a few minutes of attention now can save you months of regret.
Before You Even Start the Engine
Sit on the bike first, feet flat or near-flat on the ground. Check handlebar reach, seat height, and how your knees sit against the tank. If it feels awkward standing still, it’ll feel worse after an hour of riding.
A bike that feels slightly uncomfortable while parked will almost always feel more uncomfortable after 30-40 minutes of actual riding, so trust that first impression.
Starting and Idle Check
Listen closely when the engine starts — unusual rattles, excessive vibration at idle, or a rough, uneven idle sound are worth flagging immediately, even on a brand-new showroom bike.
Clutch and Gear Feel
- Clutch should engage smoothly, not feel too stiff or too loose
- Gear shifts should be clean, without false neutrals or grinding
- First-to-second gear transition especially reveals a lot about built quality
Braking Performance
Test both front and rear brakes separately at low speed first, then together at a slightly higher speed in a safe, open area. Braking should feel progressive, not grabby or delayed.
Progressive, predictable braking — not sudden or delayed — is one of the clearest signs of a well-set-up bike, so pay close attention during this part of the test ride.
Suspension Over Rough Patches
If the test route includes any speed breakers or uneven road, pay attention to how the suspension absorbs the impact. Harsh, jarring bumps transmitted straight to the seat are a red flag, especially for a daily commuter bike.
Mirror and Visibility Check
Adjust the mirrors while seated in your normal riding position — poor mirror visibility is a small thing that becomes a genuine daily annoyance if not sorted before purchase.
Noise and Vibration at Different Speeds
Ride through a range of speeds if possible — 20, 40, 60 kmph — and notice if vibrations increase unusually at any particular speed range. Excessive vibration at cruising speed can indicate engine balance issues.
[link to related guide about best commuter bikes under 1.5 lakh here]
Frequently Asked Questions
What should I check first during a bike test ride? Start with seating comfort and handlebar reach while stationary, since these affect your entire riding experience.
How long should a bike test ride last? Ideally at least 15-20 minutes, covering varied road conditions, not just a quick showroom loop.
Is it normal for a new bike to vibrate slightly? Some vibration is normal, but excessive vibration at specific speeds could indicate an engine or balancing issue worth flagging.
Should I test ride on rough roads too? Yes, testing on at least a short rough stretch reveals suspension quality better than a smooth showroom loop alone.
Can I ask for a longer test ride than the dealer offers? Yes, most dealers will accommodate a slightly longer ride if you ask, especially for a serious buyer.
Conclusion
Running through this bike test ride checklist properly takes maybe 20 extra minutes, but it can save you from months of regret over a bike that just doesn’t fit right. Don’t let showroom pressure rush you — a proper test ride is your best (and often only) chance to catch issues before you commit.
[Image alt text suggestions: “bike test ride checklist India”, “test riding bike showroom”, “bike suspension test road”]